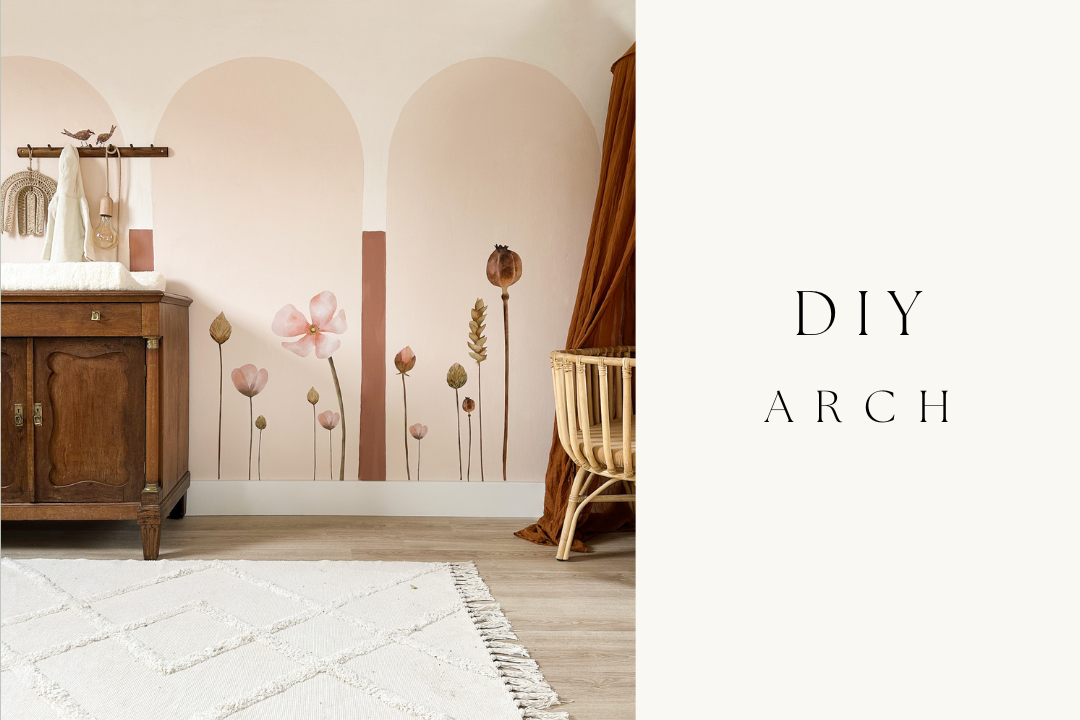
Looking for an easy way to fill a wall? Create several arches with wainscoting between the arches! To make it a bit more fun for a child's room I added the flower set wall stickers with the sparrows.
What do you need:
- Paint (I used three colors, two mixed myself)
- Tassels
- Rollers (for the large pieces)
- Pencil
- Rope or a long ruler
- Wall stickers - Flowers XL set and the sparrows
Step 1
Choose a color palette. I chose to mix the white latex (RAL 9010) with the pink in a light shade as a background and a darker shade for the arches. The wainscoting with a more red pink. Because the colors are in line, they match in terms of palette. Not sure what you want? Go to Pinterest and search for: color palette pink (or another color you want). You can use the colors to find the right colors in the hardware store.
Please note - colours may vary from screen to screen and appear different on a wall so always use testers!
Step 2
Draw the arches. You can do this in different ways, for example with a string or with a ruler. I use a piece of cardboard for this - keep the middle well off and draw the arch well by moving the piece of cardboard a little further each time. You can also use a round object such as a round tray.

Step 3
Paint! For a neat result, tape the straight parts. For the round parts, work with a brush - this is often easier to make the curve neat (I didn't have one!).

Step 4
Paint the spacers - again, use tape if you want straight lines. I didn't do this for the spacers.

Step 5 (or step 2 if you're smart :) )
Paint the intermediate pieces at the top. The easiest thing to do is to do this first before you make the arches! But be careful that you can get lines where the paint stops. If you have enough paint - paint the entire wall, then you know for sure that you have no lines and you have the best result.

Step 6
Stick the wall stickers - here I have the XL flower set used with the sparrows.
